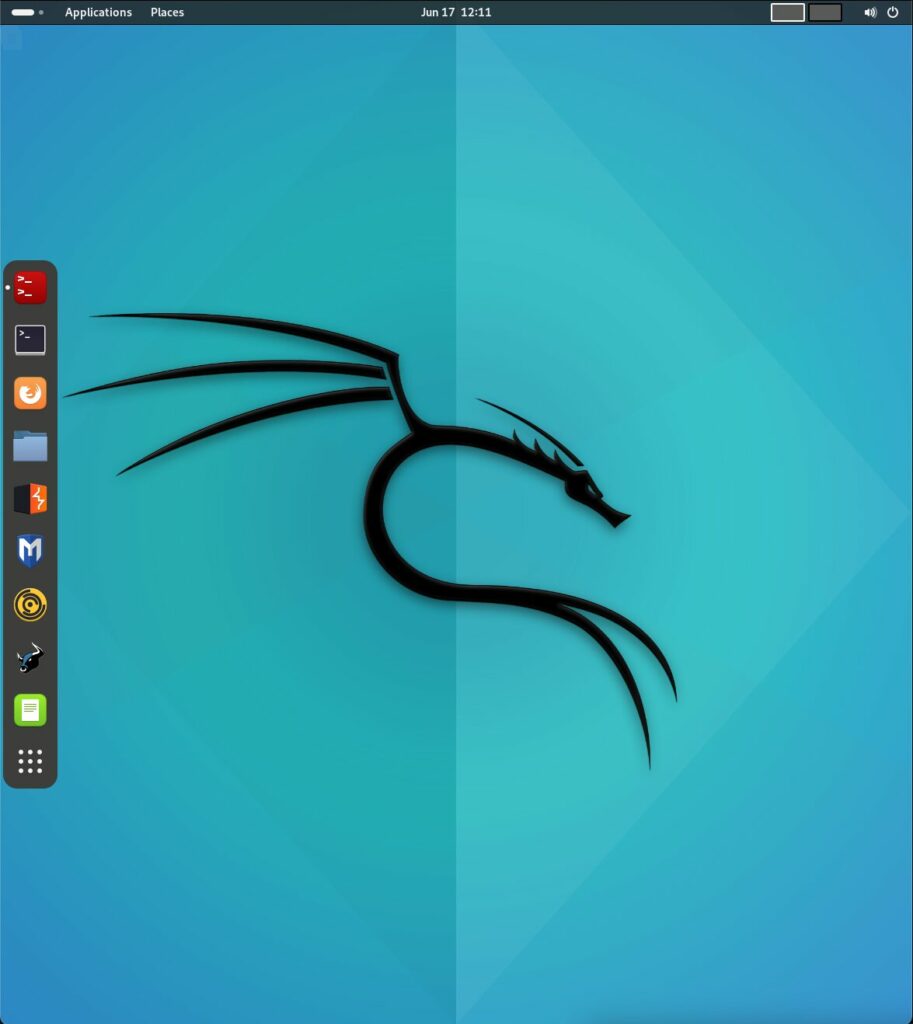
Click here to customize your Kali Linux Desktop before this step if you haven’t already.
Here’s a detailed explanation of each step for making your Terminal pretty. You can do it by installing Starship, a customizable prompt for any shell, on Kali Linux. I’ll also cover how to install and activate a Nerd Font, which is often used with Starship for better visual aesthetics and it makes the heart cuter.
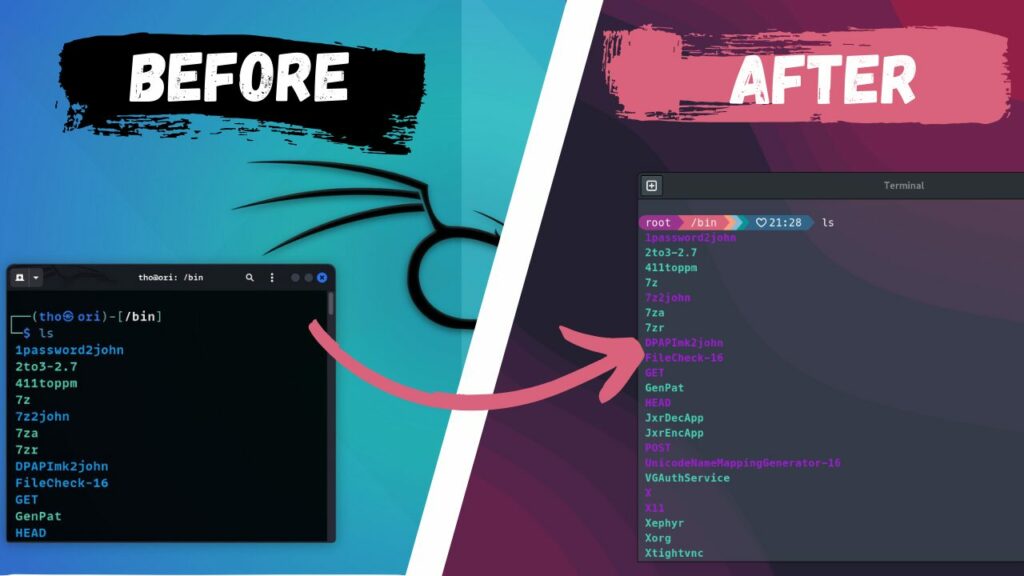
Sorry but this is so ugly.
We’re going to make hacking cute again.

Step 1: Download and Install Starship
curl -sS https://starship.rs/install.sh | shcurl: This is a command-line tool used to transfer data from or to a server using various protocols, such as HTTP and FTP.-sS: These options makecurlrun in silent mode but still show errors if they occur.https://starship.rs/install.sh: This is the URL of the Starship installation script.| sh: This part pipes the script fetched bycurldirectly intosh(shell), which executes the script.
This command downloads and executes the install script from Starship’s official website, which automatically installs Starship on your system.
Step 2: Initialize Starship for Bash
eval "$(starship init bash)"eval: This command evaluates a string as a series of commands in the shell.$(...): This syntax, known as command substitution, executes the command inside the parentheses and replaces it with the output of that command.starship init bash: This command initializes Starship for use with Bash, generating a script that needs to be evaluated to modify the shell’s environment.
This line of code configures your Bash shell to start Starship, replacing your existing prompt with the Starship prompt.
Step 3: Configure Shell to Use Starship Automatically
For Bash, you need to ensure Starship starts every time you open a terminal:
- Open your Bash configuration file:
nano ~/.bashrc- Add the following lines to the end of the file:
eval "$(starship init bash)"- Save and close the file (
CTRL+O,Enter,CTRL+Xin nano).
This configuration ensures that Starship is initialized every time you open a new Bash shell.
Step 4: Apply a Starship Preset
The next step is to apply a preset theme to Starship:
starship preset pastel-powerline -o ~/.config/starship.tomlstarship preset: This command is used to apply a preset configuration.pastel-powerline: This is the name of the preset you are applying.-o ~/.config/starship.toml: This option specifies the output file for the configuration.
This command sets the Pastel Powerline preset as your Starship theme and saves the configuration to the specified file.
Step 5: Install Nerd Font
Starship can use special fonts known as Nerd Fonts which include multiple glyphs and icons:
- Download a Nerd Font from Nerd Fonts.
- Extract the downloaded font archive.
- Move the extracted font files to your fonts directory:
   mkdir -p ~/.local/share/fonts
mv path/to/extracted/font/*.ttf ~/.local/share/fonts/- Update the font cache:
fc-cache -fvStep 6: Activate the Font
- Open your terminal settings.
- Look for the font or appearance settings.
- Select the Nerd Font you’ve installed.
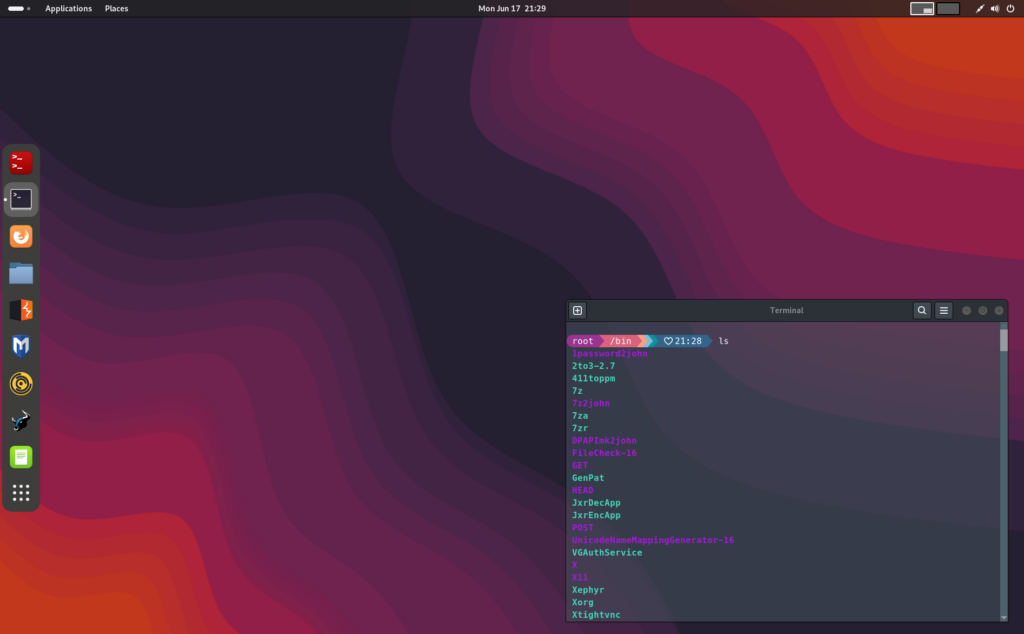
After these steps, your terminal will start using the selected Nerd Font, and you should see Starship with its new configuration when you open a new terminal window.

This is what it should look like if you follow both tutorials. Let me know if you try it out!


Pingback: Dear Script Kiddie - Addie LaMarr
Hello thanks for the tutorial however i have a question i followed the tutorial but why is it not automatically showing this feature every time i open the terminal I gives the regular terminal until i write eval “$(starship init zsh)” thanks a lot